Get rid of messy cables
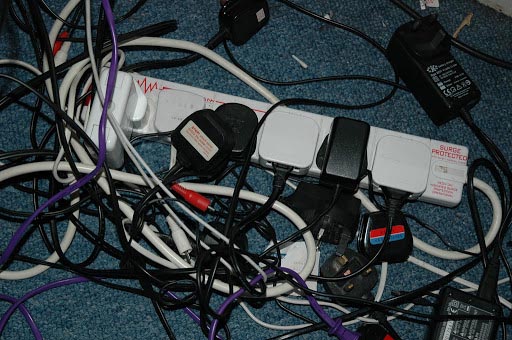
Everyone these days seems to have messy cables on and around their desks; generally caused by the constant addition of new appliances that need a cable to draw power. But no one has time to tidy up the cables to make them neater.
If you want neater cables around your desks talk to our engineer about what would be involved – in a small office we may be able to do it whilst we’re there, and in bigger sites we’ll need to arrange to return (ideally when your staff aren’t there).
Cable re-organisation is something everyone says is easy, but no one ever does it, lets face it – who has the time now to pull out desks, disconnect all the cables, and relay them neat and tidy? Nobody has the time but nobody likes to see that mess of wires.
If you are not booked in for appliances to be inspected any time soon but think this is something you need for your business, get in touch with us – we’ll come out to survey the site, from which we’ll make a proposal. We’ll be able to tell you how long we’ll need to do the job and what it will cost, then it’s up to you whether you book us in.
Tidy cables are much better than messy ones – they’re safer and less of a hazard.
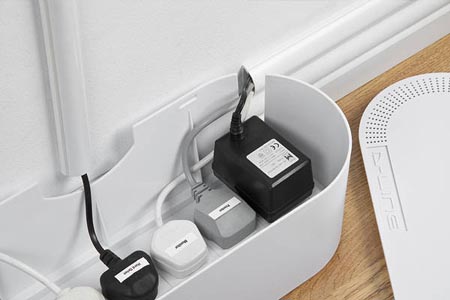
Get those cords organised, use bigger power strips that take more plugs (safely) rather than daisy chaining smaller blocks, put a cable sleeve in place around cables or even use cable clips if possible to tack cables to walls to make them neater. There are many ways we can use to help organise that mess of cables in your office.


Our 4 step plan to eradicate messy cables for good
Let’s assume we are referring to the plugs under your desk
Step One: Unplug Everything
- It’s best to start with a blank canvas, so unplug every plug from every socket, and pull each lead to the top of the desk, then run it neatly across the desk, so the plug is hanging at the front.
- Now trace each lead so you know which appliance it is for.
- Make a nice label to attach to each plug so you know what each plug powers
- If you have any spare cables that don’t connect to anything put them to one side.
Step Two: Mount the extension lead
Mount the lead to the desk leg, or attach it to the desk another way, or the wall (we’d prefer you to go direct into the socket but it’s unlikely you have enough) – make sure the mount is in a good location for all cables to reach.
The main aim is to get the extension block off the floor into a better location so cables aren’t lying on the floor
Step Three: Plug in
Take your neatly labelled plugs, run them down the back of your desk and plug them in to the extension lead in the neatest possible way
Step Four: Tidy cable time
We’re going to shorten the cables now by wrapping each up in a neat circle, and then tying that up with a cable tie (not too tight) or velcro straps.
Then either fix them all together, or keep them separate.
The idea now is to take the looped cables and secure them to a tidy hidden away location like the back of the desk.
When we do this for you, we use a slightly more sophisticated process, but the basics are the same. If you would rather we do it for you, get in touch to discuss the options. We’ll come out to assess your office first, before providing a price.
Check out our office PAT testing page for more information.


